5 Easy Hairstyles for Your First Week at Work
Your first week at a new job is loud in your head. You are learning names, finding the bathroom, and trying to remember which coffee mug is yours. The last thing you need is a hairstyle that takes 40 minutes and falls flat by lunch.
You want to look like you belong there. Not overdone, not lazy. Just put together in a way that says you take yourself seriously.
The styles below take 5 to 10 minutes each. They work on second day hair. They survive a long meeting, a windy walk to the train, and a Zoom call where your camera is way too close to your face.
Pick a couple and rotate them through your first week. By Friday, you will have a routine.
Find Your Signature Look
Four questions. Your perfect Monday hair. A full week plan.
Loading
Plan Saved
Screenshot this screen and you have your full week sorted. By Friday this will feel like muscle memory.
1. Quietly Confident, Low Sleek Ponytail at the Nape
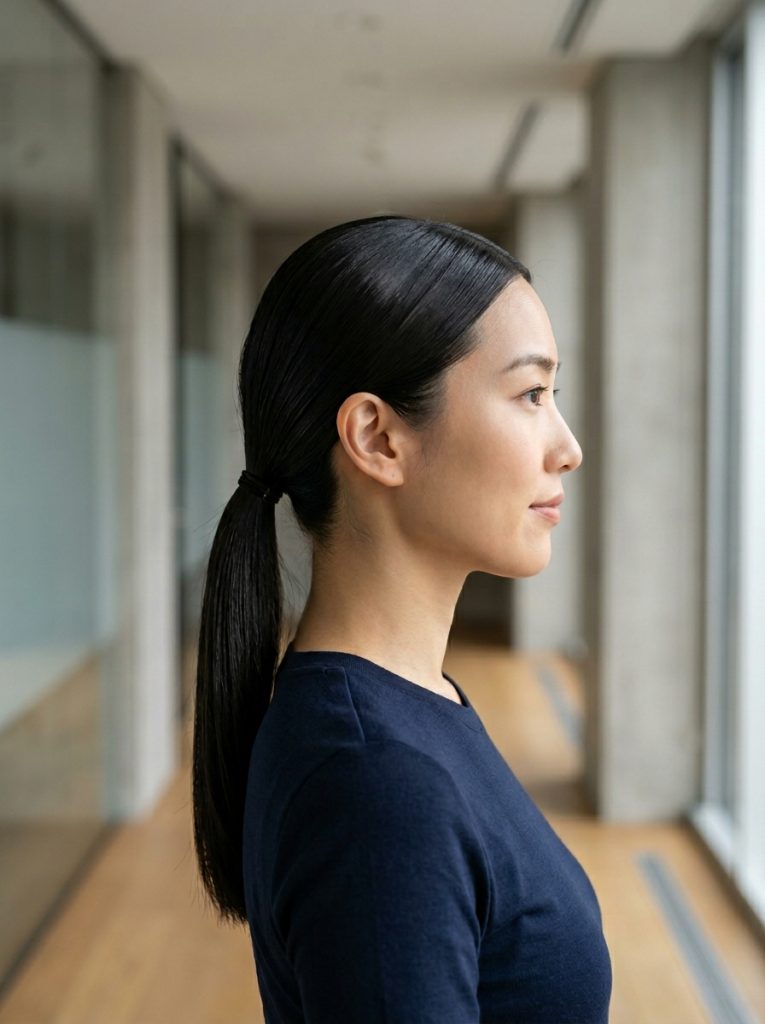
The 5 Minute Style That Reads “I Have My Life Together”
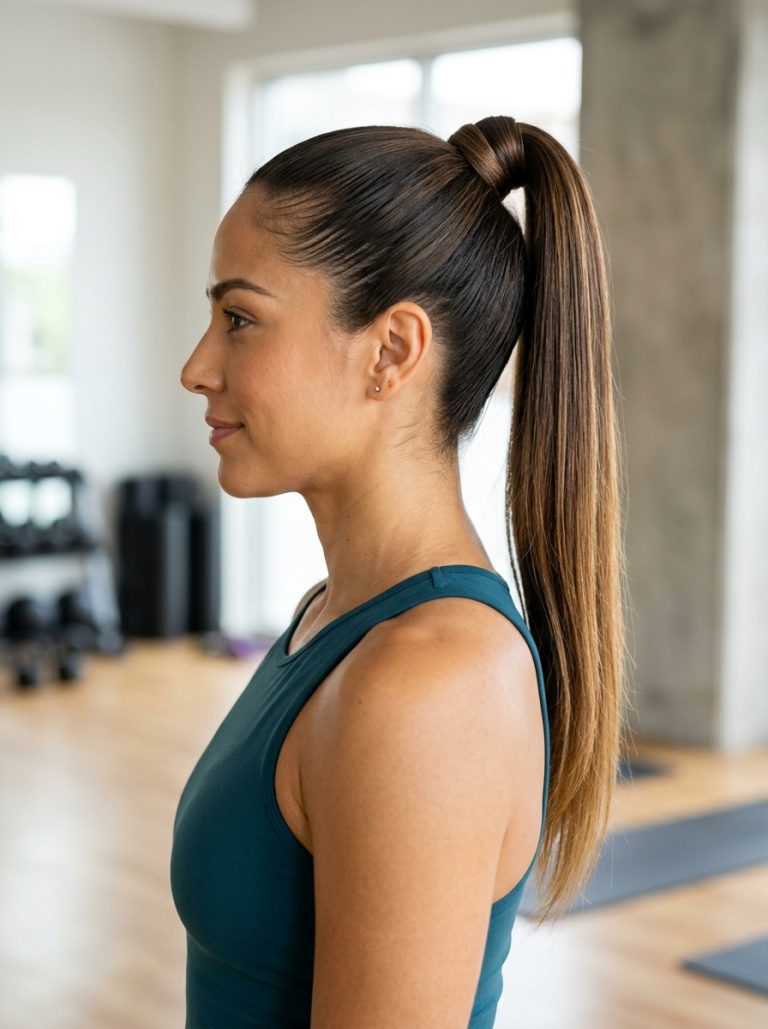
A low sleek pony does a lot of heavy lifting. It says you woke up early even if you did not. It pulls your hair off your face so you stop touching it during the day.
Best part, it works on day three hair. The oils help everything lay flat.
Building the Look From Roots to Ends
Start on dry hair. Brush everything back from your forehead, then create a clean middle part from your hairline to the crown. Use a fine tooth comb for a sharper line, or your fingers for a softer one.
Smooth a small amount of gel or strong hold pomade through your roots and the top sections. Brush the sides flat toward the back of your head. The goal is no bumps from your forehead to the tie.
Gather everything at the nape of your neck, right where your head meets your shoulders. Secure with a clear elastic, then wrap a small piece of your own hair around the elastic to hide it.
Run a flat iron through the tail if it needs smoothing. Finish with a few drops of hair oil from mid length to ends. That shine is what makes it look expensive instead of rushed.
Hair Types and Face Shapes That Win With This One
Fine to medium hair holds this best because thick hair fights the smooth root. If your hair is thick, try a strong gel like Got2b Glued or Eco Styler.
This flatters oval, oblong, and heart faces beautifully. Round faces work too if you keep the part deep on one side instead of dead center. Skip the dead middle part if you feel it widens your face.
Tweaks for Different Vibes
For a softer look, leave two thin pieces out at your hairline to frame your face. Curl those ends slightly with a small iron.
For a sharper look, slick everything back with no part at all. Use more gel and brush straight back from your hairline. That version reads strong and creative, good for design or media jobs.
2. Soft and Approachable, Half Up Claw Clip Twist
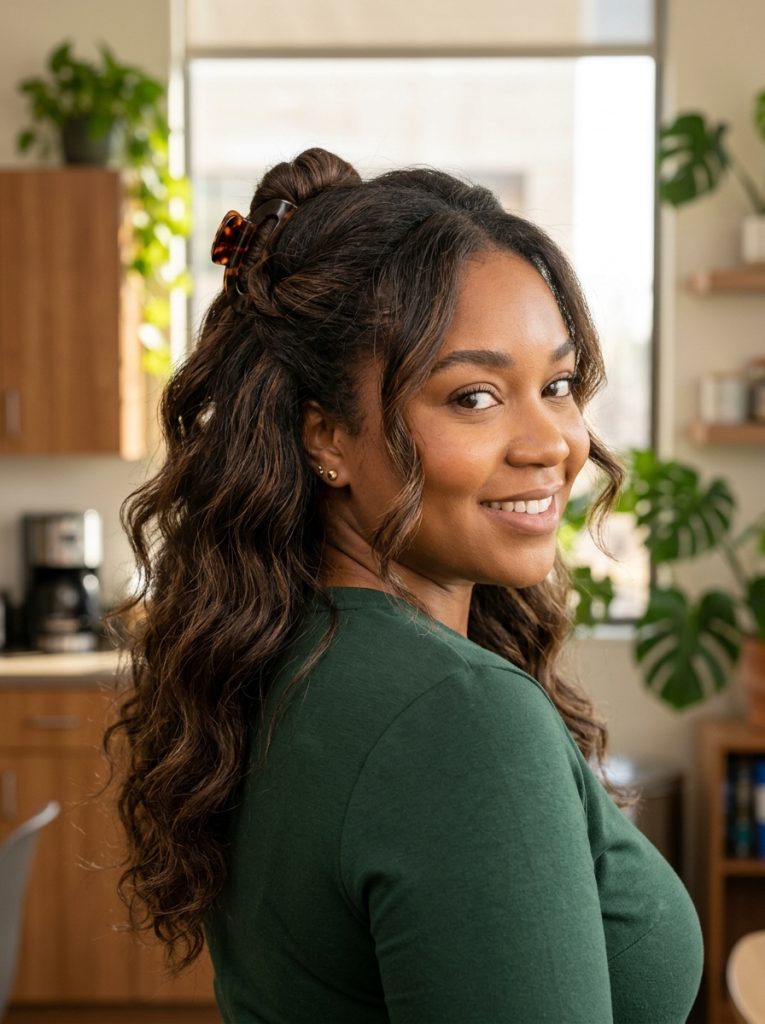
Why Coworkers Will Ask How You Did It
The half up claw is the laziest “she tried” look in your toolkit. You look like you spent time on your hair. You did not.
It also keeps hair out of your eyes while you read on a screen all day. Bonus, it works on hair that you have not washed since Sunday.
The 4 Step Method That Never Fails
- Flip your head upside down and shake your hair out. This adds volume at the roots without any product.
- Flip back up. Grab the top section of your hair from temple to temple, scooping back toward the crown. Think of the section as everything in front of your ears.
- Twist that section once, just one rotation. Hold the twist against the back of your head at the crown. Open a medium claw clip and snap it down vertically over the twist, pointing toward the floor.
- Pull a few small pieces loose at your temples and around your ears. Spritz a light hairspray for hold. Done.
Best For Your Hair and Face
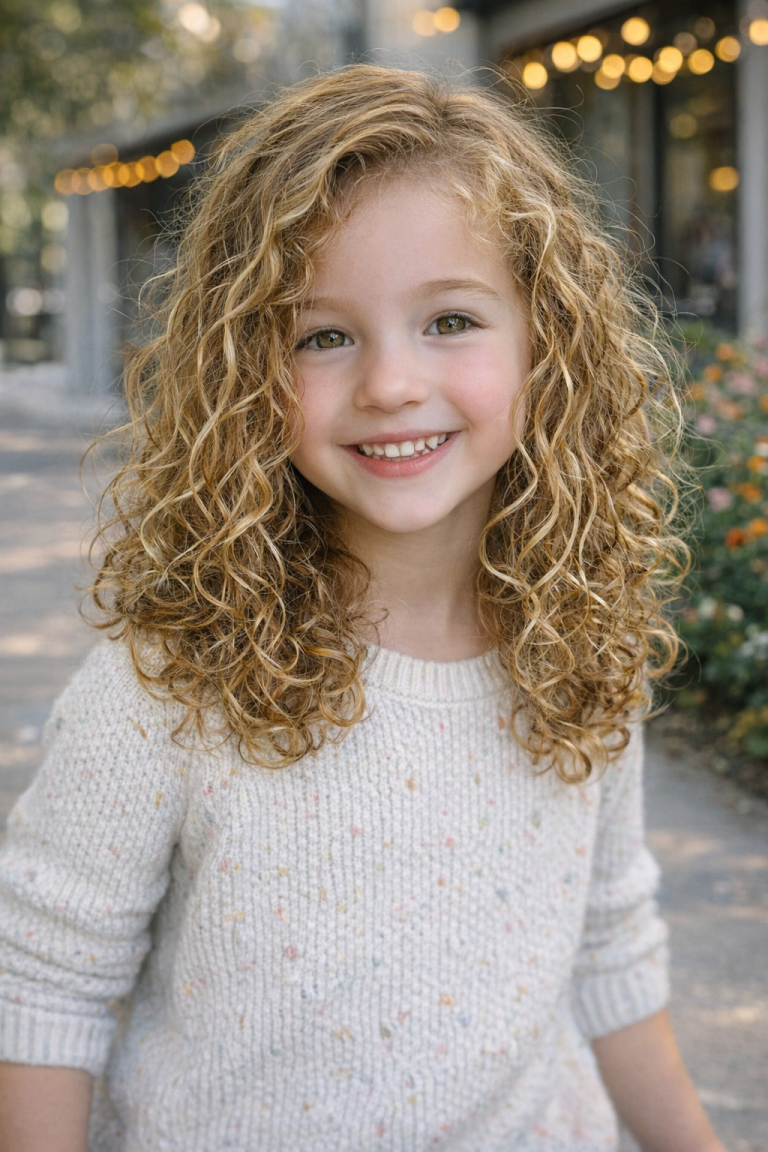
This loves medium to thick hair. Fine hair works if you tease the crown lightly first. Curly and coily textures look amazing with this because the natural pattern adds shape.
Round and square faces look softer with the face framing pieces left out. Oval and heart faces can pull off a cleaner version with no pieces down. Long faces should keep the clip lower, closer to the middle of the back of the head, so the style adds width.
Make It Yours
Swap the claw clip for a small barrette or a fabric scrunchie if your office leans casual. The shape stays the same, the vibe shifts softer.
If your hair is short, try a mini claw clip with just a small twist at the crown. Even chin length bobs can pull off this look with a tiny clip.
3. Polished Without Trying, Loose Waves With a Deep Side Part
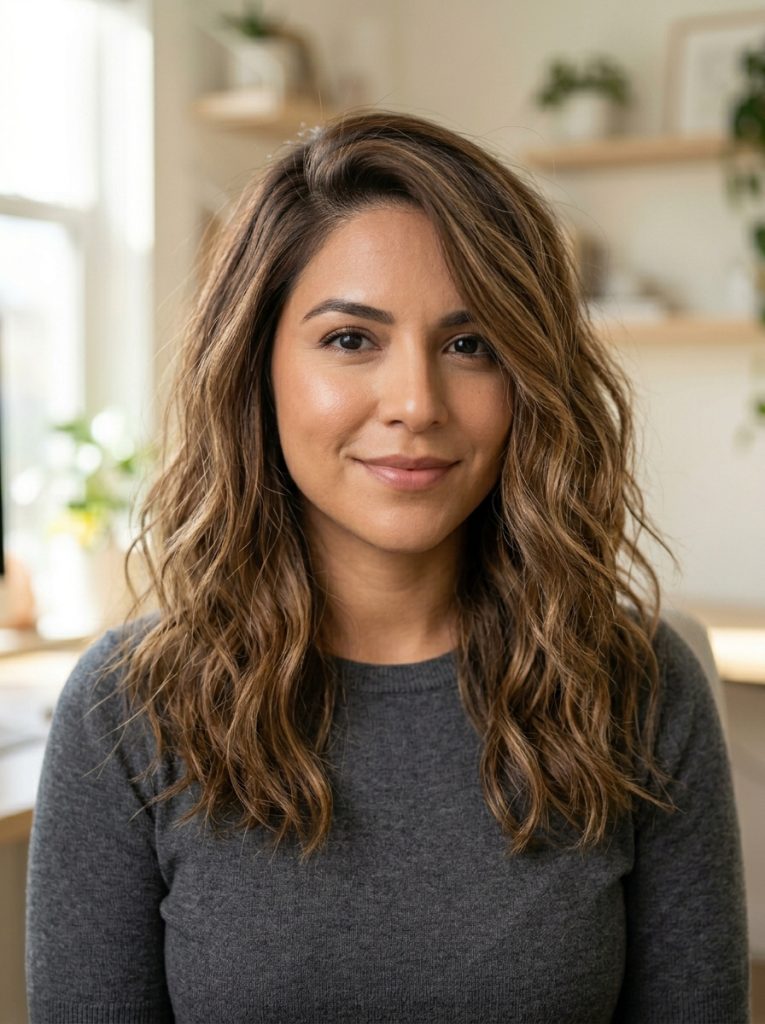
The Look That Makes You Look 10 Percent More Senior
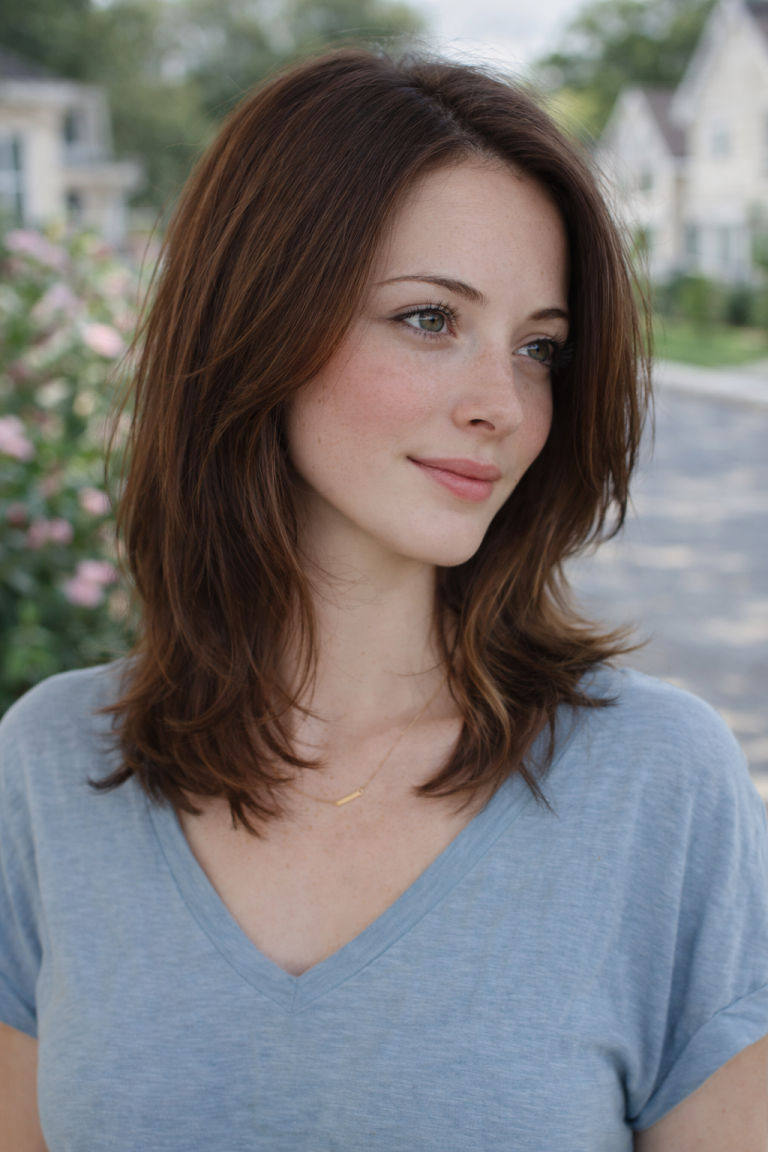
Loose waves with a deep side part is the universal “professional but not stuffy” hairstyle. It works in a courtroom and a coffee shop.
The deep part adds a quiet drama. It frames one side of your face and lifts the roots on the other.
How to Get the Wave Without Looking Curled
Start on day two hair if you can. Clean hair slips out of waves too fast.
Make your part by combing all your hair forward over your face, then sweeping it back to one side. Wherever it lands naturally is your deep part. Comb the rest of your hair into place.
Take a 1 inch curling iron and grab sections about 2 inches wide. Wrap each section away from your face, hold for 5 seconds, and slide the iron out. Skip clipping the curls, let them fall.
When you finish all the sections, run your fingers through to break the curls into waves. Spray a flexible hold hairspray. Smooth one drop of oil through the ends.
Who Looks Best in This Style
This shape flatters almost everyone, which is why it never goes out. Heart and oval faces look softest with it. Round faces benefit from the asymmetry of the deep part, it adds length.
Fine hair holds this best with a light texture spray at the roots before curling. Thick hair needs a stronger hold spray at the end so the waves do not fall by 2 p.m.
Maintenance and Adjustments
Refresh the waves the next day with a quick touch up on the pieces around your face. Dry shampoo at the roots brings everything back.
For an even easier version, skip the iron and braid damp hair into two loose braids overnight. Sleep on it, take them out in the morning, and you get the same wave with zero heat.
4. Quiet Power, Sleek Low Bun Knot
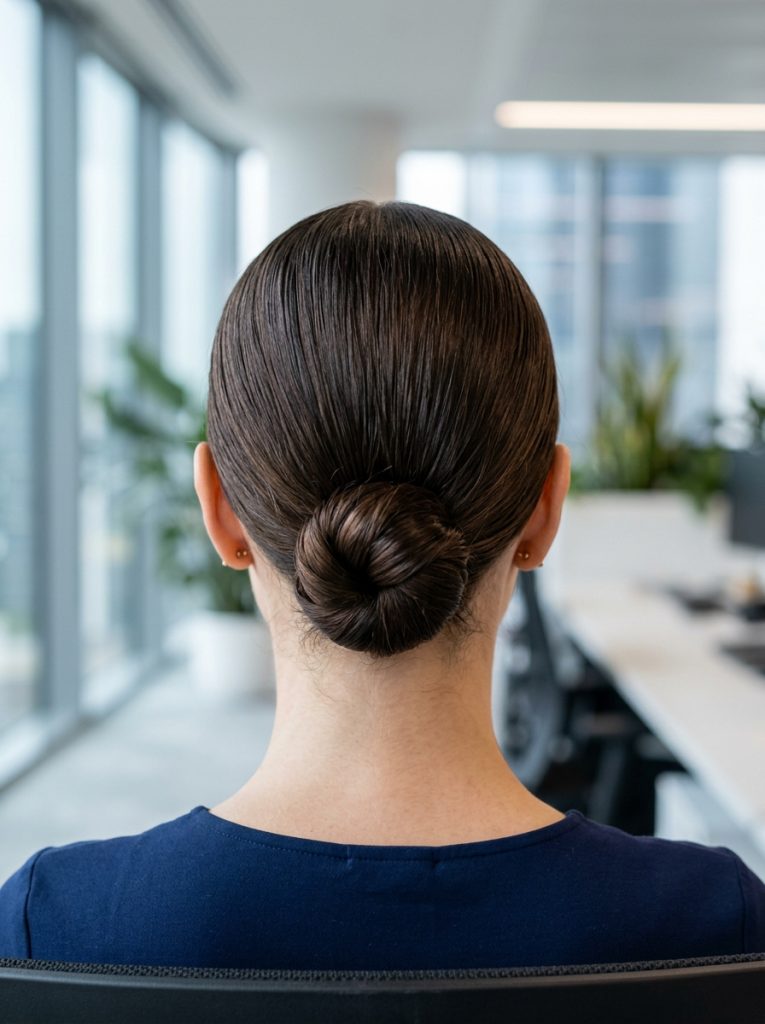
The Bun That Makes You Look Like You Were Promoted Last Month
A low bun is the older sister of the ponytail. Same energy, slightly more grown up. It works for client meetings, presentations, or any day you need to feel taller in your own skin.
It also hides a lot of hair sins. Greasy roots, split ends, a haircut you regret, none of it shows.
Step by Step From Brush to Bun
Brush all your hair back. Decide on your part. A center part reads classic and clean. A side part reads softer.
Smooth a pea sized bit of styling cream through your roots and length. Gather everything at the nape, low, where your hairline ends.
Wrap your hair into a ponytail with one hand. With the other hand, twist the tail clockwise until it starts to coil on itself. Wrap the coil around the base of the ponytail and tuck the ends underneath.
Pin with 3 to 4 bobby pins, crossing them like an X for extra hold. Mist hairspray over the whole shape. Smooth any stragglers with a small amount of pomade on your fingertips.
Who This Works Best On
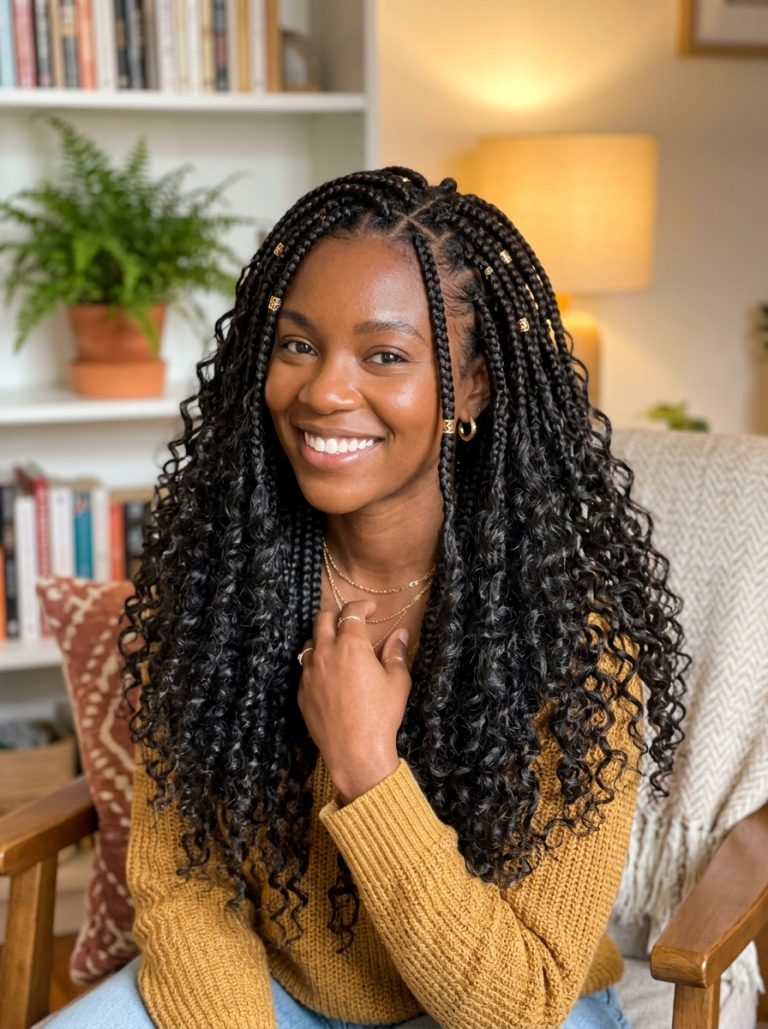
Straight to wavy hair takes this fastest. Curly and coily textures can absolutely pull this off, stretch the hair first with a brush or use a pomade for a sleek finish.
Square and round faces benefit from a small bun, not a fat one, so the head shape stays balanced. Oval and long faces can wear a slightly larger, fuller bun if they want more presence.
Switching It Up Day to Day
Pull out two thin pieces at your hairline for a softer take. Curl those pieces with a small iron and let them frame your face.
If your hair is too short for a full bun, do a half bun instead. Tie the top half into the same low knot and leave the bottom half down. Same energy, less commitment.
5. Soft and Smart, Side Swept Curtain Bangs With Air Dried Length
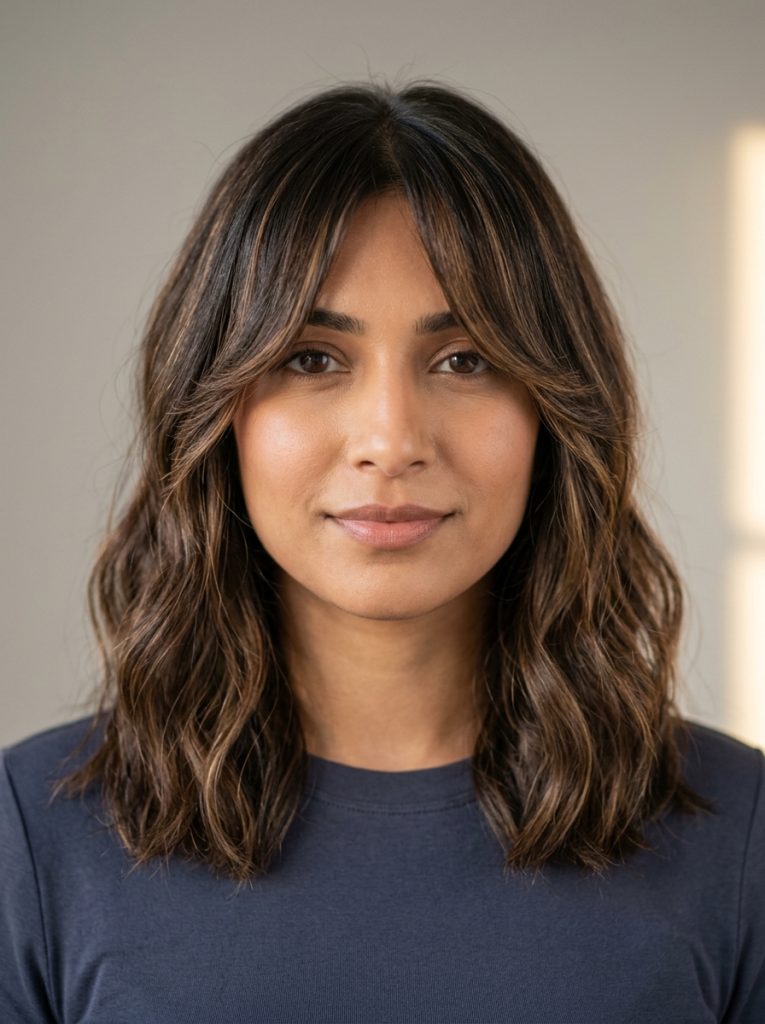
Why Curtain Bangs Are Your Best First Week Friend
Curtain bangs do all the work for you. They frame your face, soften your features, and make you look like you walked out of a salon.
You barely have to do anything to your length. Air dry it. Done. The bangs are the focus, and they only take 60 seconds.
Drying and Shaping the Bangs
Wash your hair the night before or the morning of. While the bangs are still damp, split them down the middle, one piece going to the left, one to the right.
Grab a round brush. With your blow dryer on medium heat, brush the right side away from your face, rolling the brush down and outward toward your cheekbone. Blast cool air at the end to set the shape. Repeat on the left side.
The rest of your hair can air dry. Apply a leave in cream while damp, scrunch the ends, and walk away. The texture you wake up with is the texture you wear.
Smooth one drop of oil through your ends before you leave the house. That is your full styling routine.
Best Faces and Textures for This Look
Oblong and long faces love curtain bangs because the sweep adds width at the cheekbones. Heart faces look softer with them. Round faces benefit too, the side sweep slims the face.
Wavy and straight hair takes curtain bangs easiest. Curly hair can wear them, just ask your stylist for a dry cut on the curly bangs so they sit right.
Keeping Them Looking Fresh
Trim your curtain bangs every 4 to 6 weeks, or learn to dust them yourself with sharp scissors. They grow into your eyes faster than you think.
If you wake up and your bangs are flat, mist them with water, blow dry them out with a round brush again, and you are back. Whole reset takes 90 seconds.
Which One Should You Try First
Match the style to the day, not the other way around.
Day one is for the low sleek pony or the low bun. You want clean, simple, no risk. Save the loose waves for day two or three when you have read the room and seen what the office wears.
The half up claw clip is your “I overslept” backup. Keep one in your bag for those days.
By Friday, you will know which style fits your job, your hair, and your morning patience. Pick the one you can do half asleep, and that is your signature look for the next 6 months.
You belong there. Your hair just has to keep up.